Ever since WordPress started utilizing a block design, a lot of new features became available, but the layout options are still clunky. I encountered this issue constantly whenever I tried to add a GIF image to a post and it would take up the entire page. There are no controls on block-level settings to change its size, so what can we do?
I hope that in the future WordPress will improve our control over the layout and size of all available blocks, but for now, we’ll have to use a workaround which, by the way, will work for changing the size of any block, not just a GIF.
By default, if I leave the GIF block as is, it takes up an entire screen like this:
The long way to fix this would be to limit the size with custom CSS, but I’ve found a faster solution to this problem you can deploy without any coding and you can do it directly within your post.
How do you resize a block on WordPress?
By turning it into a Group. Here’s how.
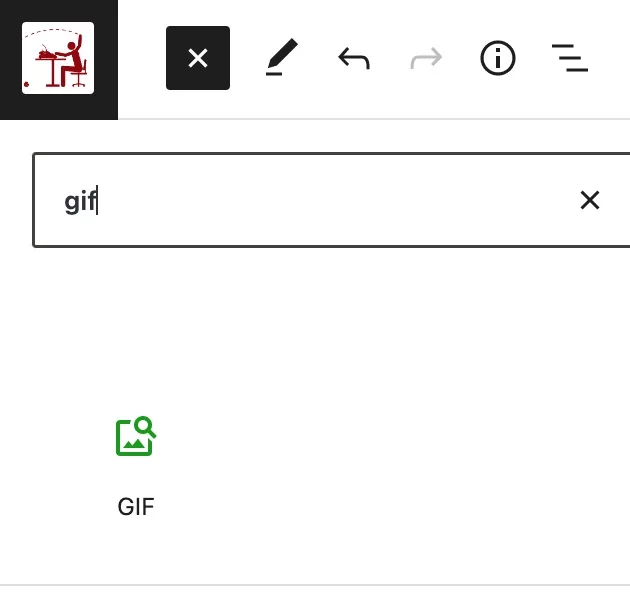
Step 1: Insert the GIF block
Click the plus sign and type in “GIF” to find your block.
Search for your favorite GIF to dress up your post.
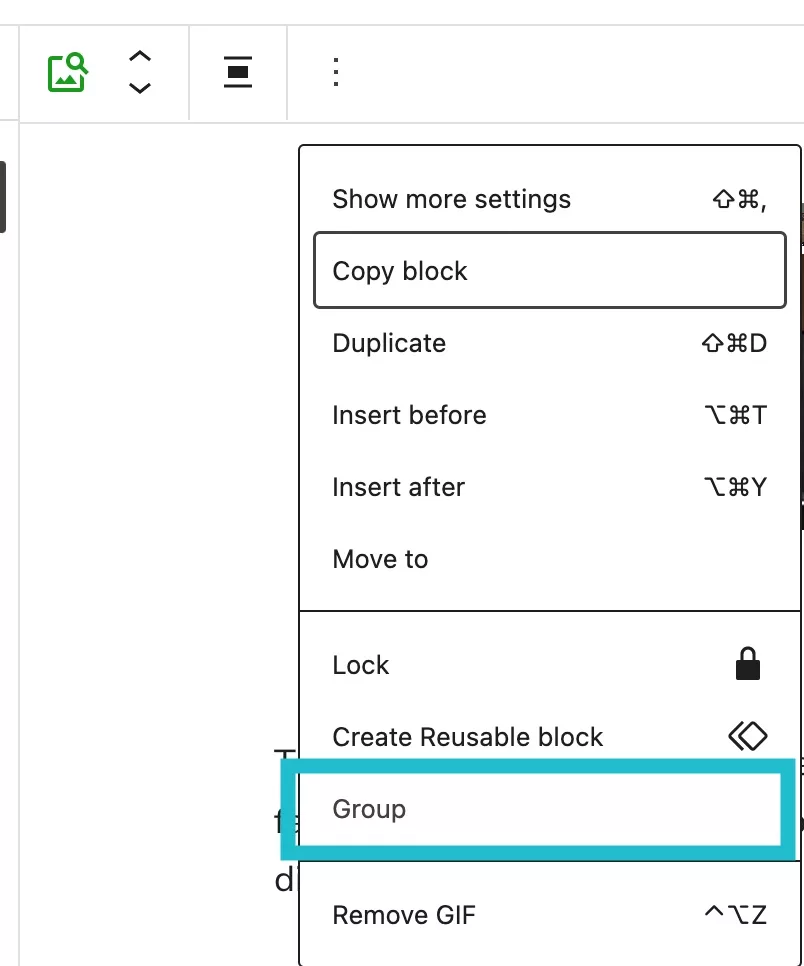
Step 2: Turn the GIF block into a Group
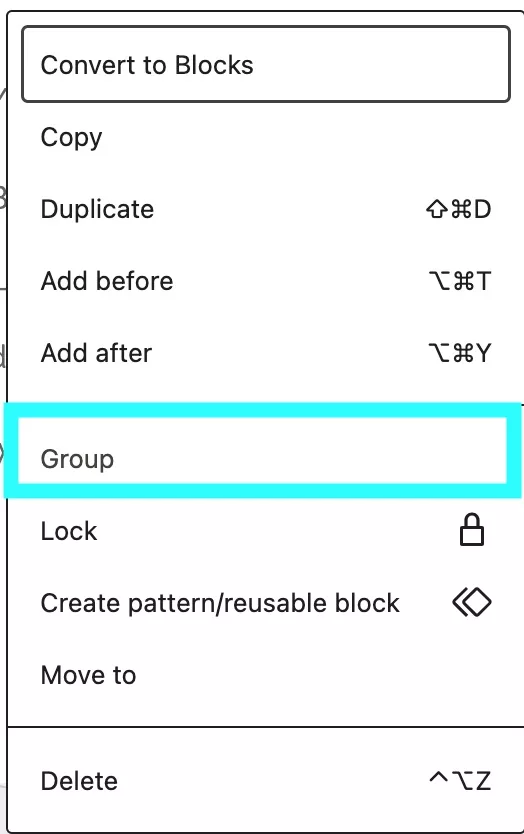
With your GIF block selected, click ⋮ (the three dots) on your toolbar to open the menu and choose Group.
Step 3: Change the Group settings
Now that your GIF is wrapped up inside a Group, you’ll notice that the Group has options that the GIF block alone didn’t. Under the Layout section, type in a value into the WIDE or CONTENT box.
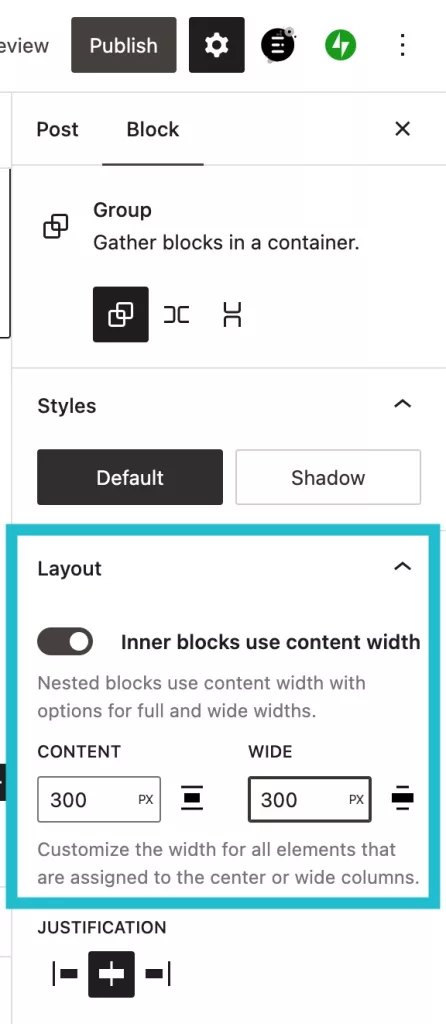
Here’s the same GIF as above but now it’s only 300 pixels wide:
And that’s it. We did it in seconds without utilizing custom CSS. What’s even better about this method is that you can adjust your GIF to a custom size, whereas in custom CSS, you’d have no choice but have all GIFs be the same size across your entire website (or you’d have to create multiple CSS classes for different sizes).
If you’re going to insert a lot of GIFs all the time, limiting the size with CSS might be an efficient way, but otherwise, this hack is the fastest fix to this WordPress limitation.
Urgent update: WordPress did it again
Today, May 5th 2023, I found that this hack no longer worked for me—I no longer see the toggle “Inner blocks use content width” on a Group block. I suspect that recent WordPress update might have broken this (though existing blocks remain unchanged). I am investigating and will update this post once I figure this out.
Update 2
It seems that these new settings are here to stay. So we have to come up with an alternative solution to our oversized GIF problem.
The immediate quick two choices are:
- Custom CSS:
- Style the standard GIF block, or
- Create custom CSS classes.
- Don’t use the standard GIF block but insert a GIF directly into your post.
There are alternative solutions available but each requires a lot more time investment to create and implement. Let’s do this the easy way.
How to control the size of your GIF with custom CSS
An example custom CSS you may use on a standard WordPress GIF block:
.wp-block-jetpack-gif-wrapper {
	max-width: 500px;
	max-height: 500px;
}
Or you could create custom css classes. If you go this route, you’ll have to remember to add that custom class to every individual GIF block you ever insert. Good luck remembering what you called it.
I opted for option #2 (insert a GIF directly) because I want to control the GIF size on a case by case basis. Thankfully, it’s not difficult. In fact, it’s even easier to find a good GIF this way. Check it out.
How to manually embed a GIF into your post
- Open the GIF website of your choice and look up your perfect GIF.
- Copy the Embed code.
- Add an HTML block to your post and paste that code there.
- Modify the HTML width and height specs.
- Optional: Nest the HTML block inside a Group block to better control the layout.
Giphy website has two nifty options for embedding their GIFs: Responsive On or Off.
The Responsive code gives you more options to style it for screens of different sizes, but for the sake of simplicity, let’s keep it off for now.
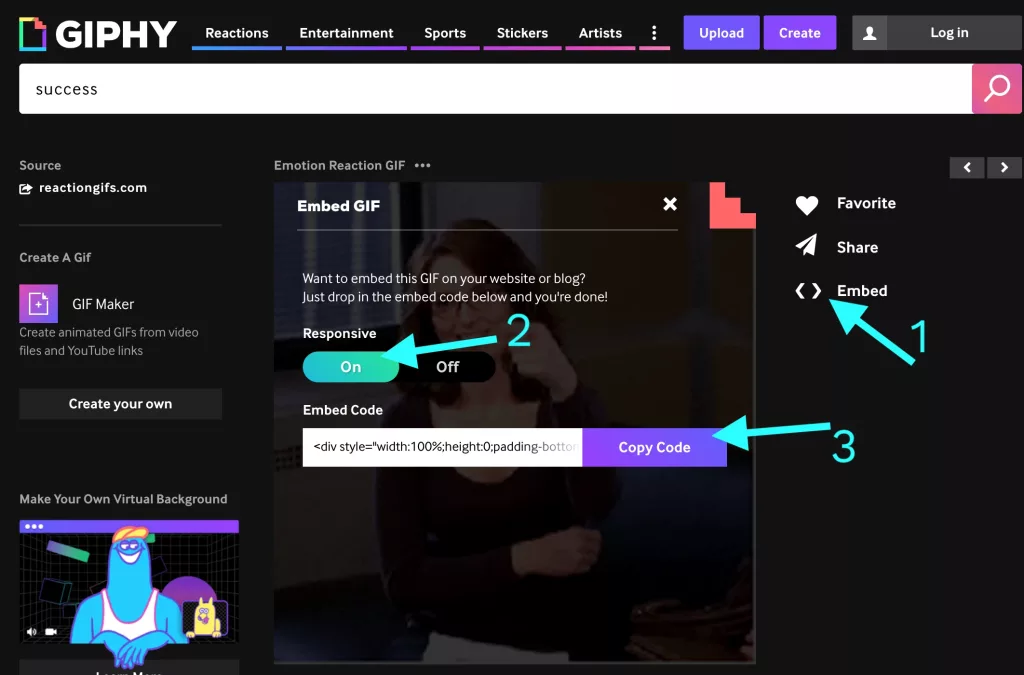
Click Copy Code.
Over on your WordPress post, add a Custom HTML block.
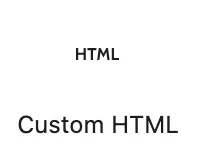
And paste the Embed Code. That’s it. You’ve got yourself a GIF.
Leaving the code as is, gives me this:
Yes! We’re getting somewhere.
Notice that the auto-generated code has width and height properties which are already helping the original size problem. I see two minor issues though:
- With this particular GIF, the resolution is poor. It’s too large.
- The way that the Giphy credit floats to the left is making my eye twitch.
Let’s fix that.
Fixing the layout of a Custom HTML block
After all, Custom HTML is custom, so WordPress doesn’t give us layout options for it, assuming we want to create custom layout. But we can still take advantage of available built-in WordPress tools to reduce how much custom code is needed. And let’s face it, the more you customize it, the more opportunities to mess up.
The easiest way to fix the layout is with the same Group hack we’ve utilized above.
With your Custom HTML block selected, click the three dot menu and then choose Group. It will nest your Custom HTML under a Group element.

Your group should be selected by default. If you’ve somehow unselected it, click the Document Overview (the three horizontal lines in your top toolbar) and select it from there. Or you can click the three dot menu and click Select parent block.
With your group selected, go to your Block settings panel (on the right) and turn it into a Stack.
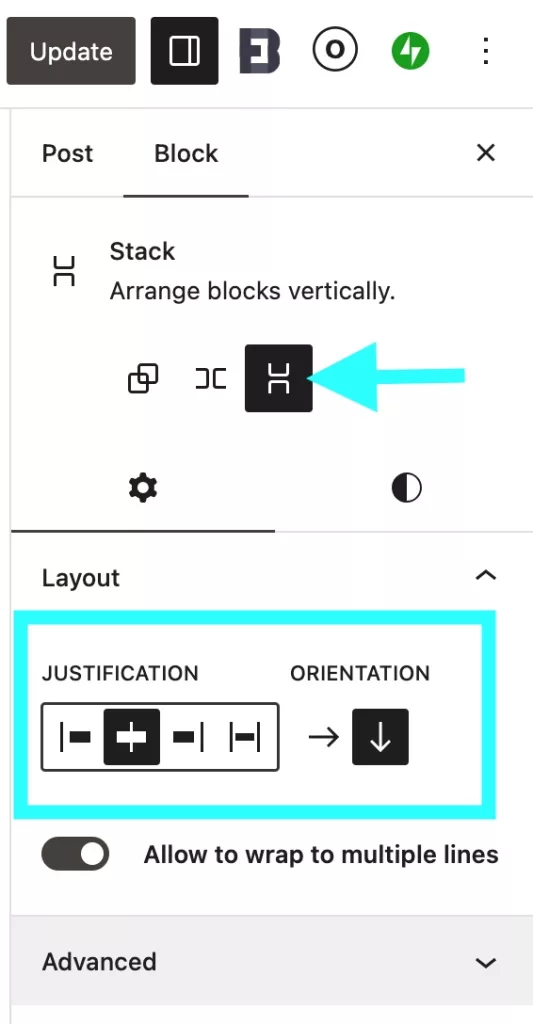
Now, you’ll have a couple more options if for example you want to change its vertical or horizontal alignment. You’ll notice also that when you click on your Custom HTML block, you’ll see new Height options on the right-hand panel that weren’t there before.
Feel free to play around with these settings and modify the code within your Custom HTML block to whatever size you think the GIF will look best at. For this GIF, I changed the width and height property to 300, added a title for screen readers while I’m at it, and left the rest of the code as is:
<iframe title="Woman with glasses giving herself a high-five." src="https://giphy.com/embed/xNBcChLQt7s9a" width="300" height="300" frameBorder="0" class="giphy-embed" allowFullScreen ></iframe><p><a href="https://giphy.com/gifs/win-xNBcChLQt7s9a">via GIPHY</a></p>My final Stack settings are:
- Justify: Center.
- Align: Middle.
- Align: Full width.
The resulting GIF is:
Phew. Another crisis averted.
Even though this new method takes a couple of more steps, I like it better because:
- The GIF block doesn’t disappear from my screen when I’m editing the post. It was driving me mad.
- Seeing the HTML code makes it faster to quickly change the GIF’s properties. When you use the GIF block, those properties are hidden from you.
- Going to the actual GIF site like Giphy makes finding the right GIF easier.
Did you find this post useful? Let me know in the comments.
Discover more from Isobel Lynx
Subscribe to get the latest posts sent to your email.